FACT: The most expensive mistake in home theater design happens before you run a single cable. It happens the moment you walk into a store, fall in love with a projector, buy it, and then try to figure out where to put it.
I have seen this play out more times than I can count. A beautiful, expensive piece of equipment ends up in a room it was never designed for, producing a picture that looks nothing like the showroom demo, in a space where the speakers have nowhere reasonable to go. The whole thing underperforms, and the owner cannot figure out why.
The answer is always the same; They bought before they planned. This guide will show you how to plan a home theater room, in the right order, so that by the time you spend a single dollar on equipment, you know exactly what you are buying and exactly why.
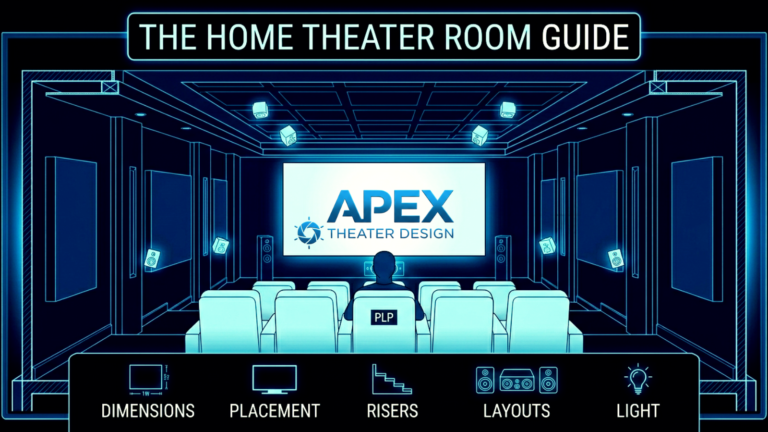
Step #1: Understand What You Are Working With
The room is not a backdrop for your home theater but rather the most important component in it. Its dimensions determine everything: your screen size, your projector choice, your speaker configuration, your acoustic treatment needs, and your seating layout.
So, if you want to get everything right from the word go, I advise you to start by measuring the room accurately. Measure the length, width, and ceiling height. Then note the door positions, window positions, and any HVAC vents. Look at where electrical panels are, where plumbing runs, and which walls share space with neighboring rooms or bedrooms that will need to stay quiet.
A 12 by 16 foot room with an 8-foot ceiling has different design parameters than a 14 by 22 foot room with a 9-foot ceiling, even though both seem like reasonable theater spaces. The longer room changes your throw distance calculations, your bass resonance modes, and how far apart your speaker pairs need to be.
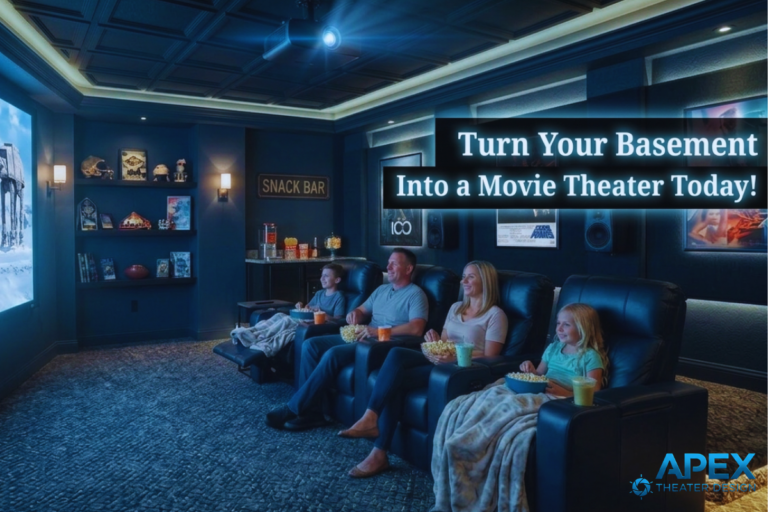
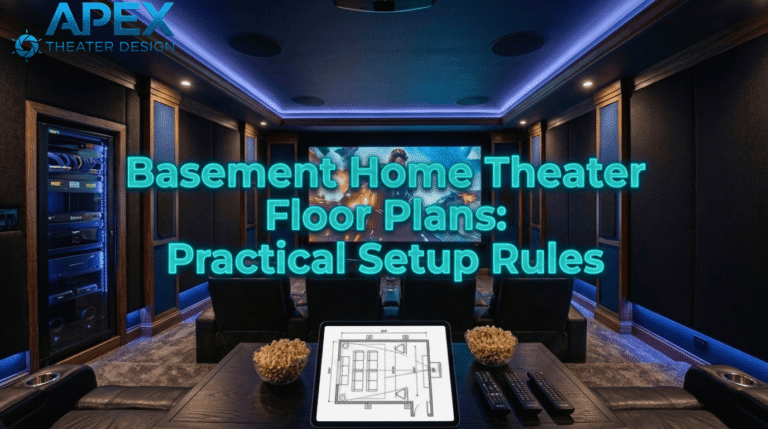
You might be interested in this basement home theater floor plans guide
Step #2: Determine Your Screen Size Before Choosing Any Display
Your screen size is determined by where you will sit, not by what fits on the wall.
The formula that professional installers use comes from THX, which recommends a horizontal viewing angle of around 36 degrees for a fully immersive cinematic experience.
A simpler version that works well for planning: multiply your seating distance in inches by 0.835 to get the ideal screen diagonal for a cinematic experience, or by 0.65 for a more relaxed viewing angle.
So, if your primary seating is 12 feet (144 inches) from the screen, your ideal cinematic screen size is roughly 120 inches diagonal. That same room with seating at 10 feet works better with a 100-to-110-inch screen.
This is crucial because most people tend to overbuy on the screen size. Bu the truth is: a 150-inch screen with seating at 10 feet will make you feel overwhelmed instead of giving you an immersive experience.
You cannot take in the whole image without moving your head. That robs you of cinema experience and leaves you with neck strain.
The SMPTE standard for professional cinema recommends that no viewer should be within 1.5 times the screen’s diagonal distance from the screen. Sit too close and the image resolution becomes visible even on a 4K display, edges distract, and viewing fatigue sets in.
Once you know your screen size, you can now proceed to choose a suitable projector. The projector must match the throw distance your room provides.
Throw distance is the distance from the projector lens to the screen surface, and every projector has a throw ratio that determines how far back it needs to be to fill a given screen size.
If the throw distance your room offers does not match the projector’s throw ratio, you simply cannot use that projector in that room.
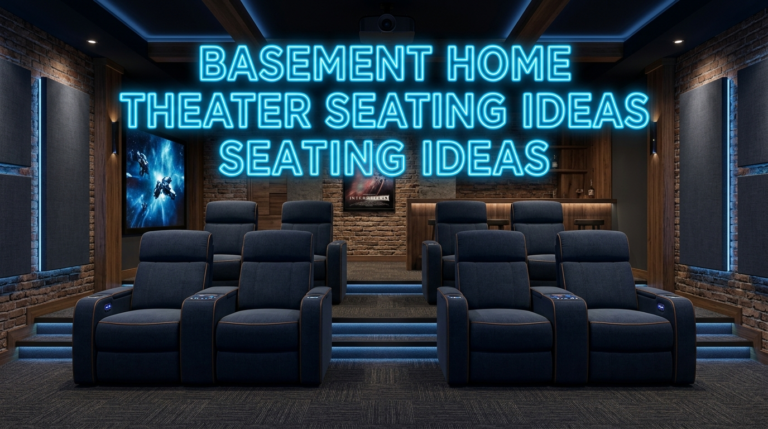
Step #3: Design The Seating Layout

Seating layout has two jobs: creating great viewing angles for every seat, and positioning listeners correctly relative to the speaker system.
The standard formula for viewing distance works off the screen width, not the diagonal. Your front row should be no closer than twice the screen width. And your rear row should be no farther than five times the screen width.
A 120-inch diagonal screen in 16:9 format is approximately 105 inches wide, which means front-row seating should be at least 17 feet from the screen and back-row seating at most 44 feet. In most home theaters, the practical constraint is the front-row minimum, not the rear-row maximum.
If you are building a two-row layout, the rear row needs to be elevated enough that viewers in row two can see over the heads in row one.
The standard riser height for home theaters is 12 inches per row, though taller audience members may push this to 14 or even 16 inches. At 12 inches of elevation, the rear row viewer is looking at the lower portion of the screen over the heads in front, not through them.
Between rows, allow at least 36 inches of clearance for comfortable recliner extension and walkthrough access. 30 inches works if the room is tight but feels cramped when seats are fully reclined.
Most theater recliners need about 67 inches of depth when fully extended, so plan that into your row spacing.
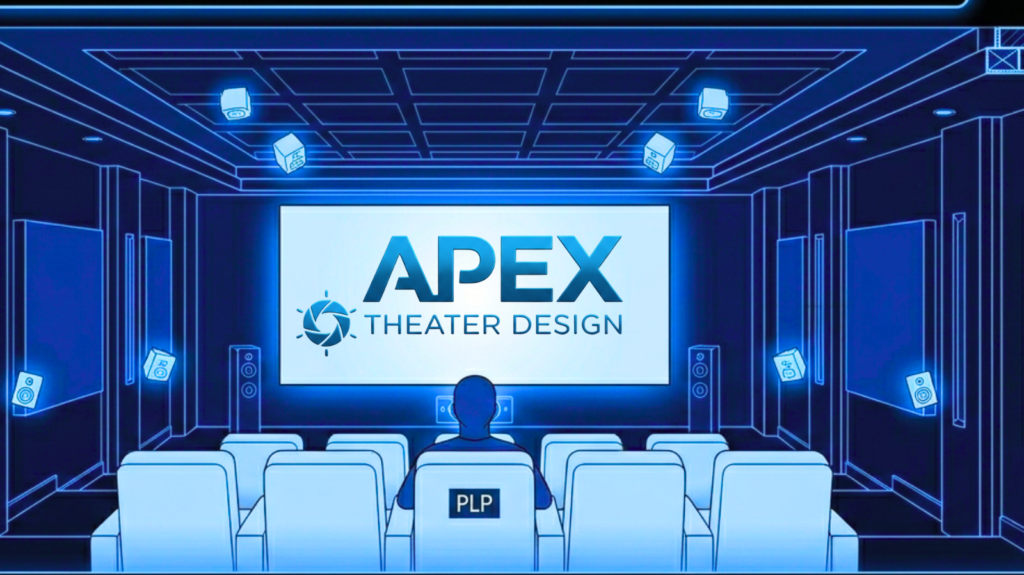
Step #4: Map Your Speaker Positions Before Touching Walls
Once the screen position and seating layout are fixed, you can map where every speaker needs to go. This step must happen before any walls are finished, before drywall goes up, and before any conduit is run.
WHY? Because changing speaker positions after construction is expensive and often impossible.
How To Map A 5.1 System:
- Your front left and right speakers should be positioned about 22 to 30 degrees off center from the primary listening position, roughly level with the screen, either side of it.
- The center speaker goes directly below or above the screen, equidistant from the front left and right.
- Surround speakers go at 90 to 110 degrees off center, slightly above ear level, aimed at the listening position.
For Atmos ceiling speakers in a 5.1.2 layout:
Dolby recommends positioning them roughly in line with the front speakers, angled at 65 to 100 degrees above the listening position.
In most rooms this puts them between 2 and 4 feet in front of the primary seating row.
In a room with a 9-foot ceiling and seating at 12 feet from the screen, that typically means placing ceiling speakers about 7 to 8 feet from the front wall.
Run conduit in the walls and ceiling for every speaker position before the room is closed up. Pull wire through the conduit later when you are ready.
This approach gives you complete flexibility to change or upgrade without ever opening a wall again.
Step #5: Plan Your Acoustic Treatment
Acoustic treatment is more about engineering than decoration. An untreated home movie room has first reflection points where sound bounces directly from the speakers to your ears off the side walls and ceiling, creating a smeared, blurred sound image.
It has bass buildup in corners caused by low-frequency standing waves. It has flutter echo that makes voices sound ringy and unnatural.
Acoustic planning for your home theater starts with identifying the first reflection points on the side walls. Stand at the listening position, have someone hold a mirror flat against each side wall and slide it toward the screen.
The point where you can see a speaker in the mirror is the first reflection point. That is where an absorption panel goes.
Bass traps belong in the corners, particularly the corners where walls meet the ceiling. Low-frequency energy concentrates there and the buildup creates a muddiness that no amount of equalization can fully correct.
Diffusion, which scatters sound rather than absorbing it, belongs on the rear wall behind the listening position. A completely absorptive rear wall makes the room feel dead and claustrophobic. Diffusion keeps the room sounding alive without adding reflections that muddy the audio.
A workable treatment plan for a 12-by-16 room includes:
- Two absorption panels at the first reflection points on each side wall
- Four bass traps in the front corners floor to ceiling
- Two bass traps in the rear corners
- A rear wall diffuser.
This is something you can easily achieve for around $1,200 to $2,000 using panels from GIK Acoustics, and it will truly transform your room.
Step #6: Plan The Lighting Before Anyone Cuts An Outlet
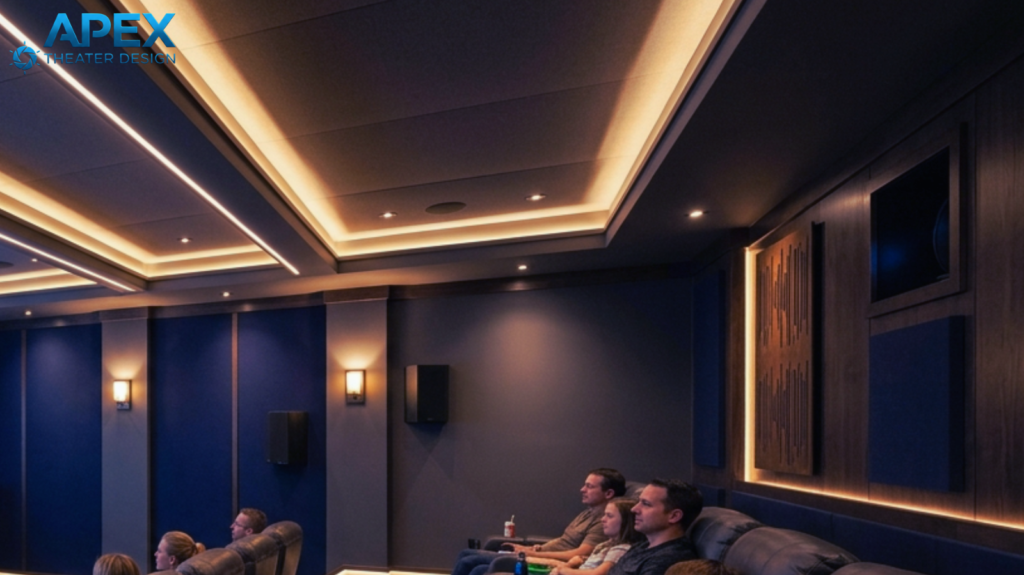
Lighting design in a home theater has one job and one job only: to eliminate any light that competes with the screen while creating an atmosphere that feels like a real cinema.
Every window needs blackout treatment. Forget light-filtering shades or room-darkening curtains. You want to achieve full blackout.
Residual light from windows, even during overcast days, washes out the black levels on any projection system and significantly reduces perceived contrast.
Bias lighting, which is a low-level light source positioned behind the screen, reduces eye strain during extended viewing and improves perceived contrast by giving the eye a visual reference point.
A simple LED strip behind the screen frame, set to around 10 percent of the screen’s peak brightness, is the standard solution. It costs almost nothing and makes a noticeable difference.
For general ambient lighting during pre-show and intermission, dimmable LED recessed fixtures on a smart dimmer system give you full control without having to run multiple circuits.
A smart switch that drops ambient light to 5 to 10% at movie start is a simple, inexpensive addition that completely changes the feel of the space.
Now You Can Buy Equipment
Working through these six steps takes time. You’ll need to measure, sketch, calculate, and get a shocker that the room you thought would work has a constraint that changes your plans.
That time is not wasted. It is the most valuable work in the entire project. Every hour you spend planning before purchasing is worth ten hours of troubleshooting after the room is built and the equipment installed.
The homeowners who end up with truly great rooms are almost always the ones who planned obsessively before touching a single piece of gear. They ticked all these boxes:
- They knew their screen size before walking into a store
- They had their speaker positions mapped before calling an installer.
- They understood their acoustic challenges before choosing their wall materials.
Get how to plan the home theater right and the rest is just execution. Get the plan wrong and no amount of expensive equipment will save it.
Check out our Room Planning section for everything you need to work through these calculations for your specific space, including a screen size guide and a speaker placement reference. Start there before you go anywhere else.